Tips & Tricks
Tips & tricks
Language specific element
<div class="fr" lang="fr">Pour de l'aide en direct appelez le 000000</div>
<div class="en" lang="en"> For some help, please call 000000</div>
and in template.css:
.lang-fr .en{display:none}
.lang-en .fr{display:none}
Change the layout of the survey page
$defaulttemplate = 'yourtemplatename';.Import/export of templates: Mac users
$ unzip template.zip -d template
Archive: template.zip
inflating: template/startpage
inflating: ...
Another workaround is to use scripts in their mac-compiled counterparts.
Replacing the help icon(Obsolete since 2.50)
When a question help text is shown, a help.gif image is used from the default template folder.
You can replace this image by uploading a new help.gif, help.png or help.jpg in your custom template folder. It will then be automatically used instead of the default help icon.
Replacing an existing logo (New in 2.50 ) (Obsolete since 3.0)
1. To edit the logo go to the template.css file which you can find it here:
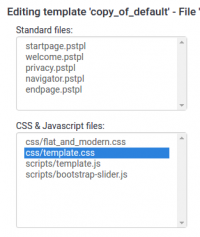
2. Click the search button to find occurrences of logo related styles and search for logo
3. Edit the main style file.
You will see something similar to:
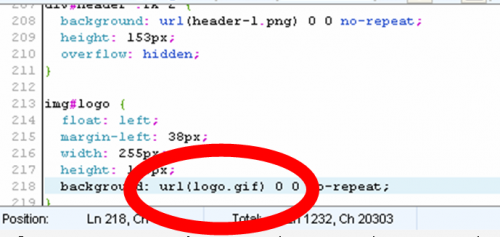
To change the image, replace logo.gif with another image link. Example: (logo.png or logo.jpg).
To change the image size, adjust width and height (in pixels) like this:
width:100px; height:100px;
Adding your own logo(Obsolete since 3.0)
1. Find and open the startpage.pstpl template file.
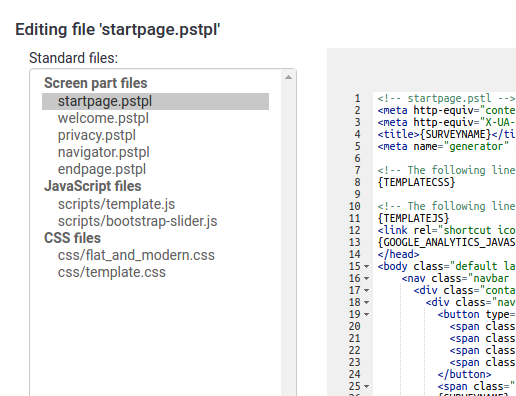
2. After this
<div id="topContainer" class="jumbotron">
add this line to startpage.pstpl:
<div class="container"><img id='page_logo' src='{TEMPLATEURL}/files/logo.png' class="clearfix pull-right" /></div>
3. To upload your own logo, go to the template editor and upload your logo.
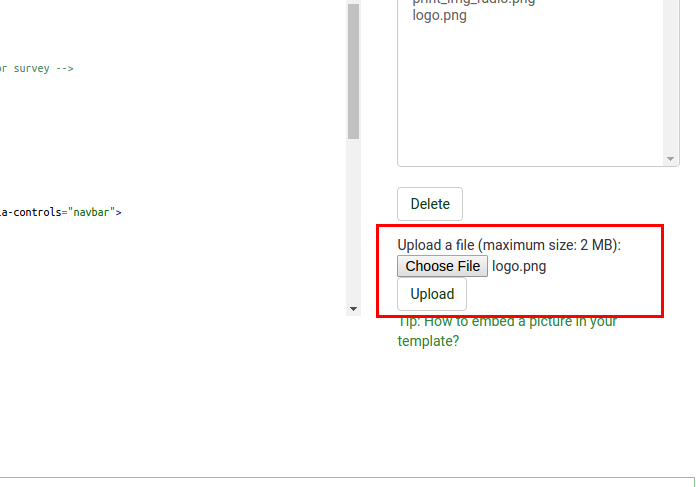
To position your logo, please use one of the following css classes:
- If you want the logo to be placed on the left side:
clearfix pull-left
- If you want the logo to be placed on the right side:
clearfix pull-right
- If you want to center the logo
clearfix center-block
Use the same template with different logos
If you want to use the same template for all surveys and just want to change the logo for each survey, you can use the {SID} placeholder in the template .pstpl file and thereby refer to different images:
<img src="{TEMPLATEURL}files/logoImage-{SID}.png">
Display custom favicon
A favicon is the little icon you see in the browser's address bar, list of bookmarks or tab. You can display your own icon as follows:
- Create a favicon - You can use Google to find lots of free favicon generators.
- Name your new favicon "favicon.ico" and place it in your template /files directory.
- Add the following code to your startpage.pstpl before the </head> tag.
<link rel="shortcut icon" href="{TEMPLATEURL}files/favicon.ico" type="image/x-icon">
<link rel="icon" href="{TEMPLATEURL}files/favicon.ico" type="image/x-icon">
Different appearance for survey-/question-pages
If you want LimeSurvey to change the appearance of every second page (i.e., even and odd survey pages), you can use .page-odd class in your CSS file to change the appearance of odd pages.
An example from default template of LimeSurvey 1.91+:
.page-odd table.question-group {
 background-color: #D2F2D3;
}
If you do not want differentiate even and odd pages, find all instances of .page-odd in template.css and remove those styles.
Create a vertical separator border for dual scale array
To create a vertical separator border for a dual scale array, you can add the following lines to your template.css-file.
table.question thead td.header_separator,
table.question tbody td.dual_scale_separator
{
   border-right:solid 1px #00A8E1;
}
header_separator is used to adress the separator for the header "td". The "dual_scale_separator" is used to address the separator column in the dual scale array.
Hide the survey contact message shown on the start page/survey list(Obsolete since 3.0)
To hide the "Please contact ..." message on the start page (with the survey list), you can add the following to the $(document).ready function in the template.js of your used design template:
$('#surveycontact').hide(); //Hides the survey contact message
Remove the survey contact message shown on error messages(Obsolete since 3.0)
If you want to remove the survey contact message from error messages, it'll be trickier. You can add the function from below. It calls the $(document).ready function in the template.css of your design template:
removeContactAdressFromMessage(); //Removes the survey contact message from error messages
and add the following function to your *template.js* file
function removeContactAdressFromMessage()
{
if ($('#tokenmessage').length > 0)
   {
   var oldMessage = $('#tokenmessage').html();
   var indexContact = oldMessage.indexOf('Bitte kontaktieren');
   var newMessage = oldMessage.substr(0, indexContact);
   $('#tokenmessage').html(newMessage);
   }
}
It will probably not work for a survey in English language and has to be extended when used for multilingual surveys. But it's an idea/tip on how to solve this.
How to deal with multilingual question attributes(Obsolete since 2.50)
If you have a multilingual survey and, e. g., want to use a different string for the "other" field, this could only be done for the base language (until this feature was added at LimeSurvey 2.0). To work around this, paste the following in the field to change the label for "other":
<span class="en">New label</span><span class="fr">Nouveau label</span>
Add in the template.css of your template (at /limesurvey/upload/templates/<yourtemplatename>/template.css):
html:lang(en) .fr{display:none}
html:lang(fr) .en{display:none}
Adding your own logo to the survey list(New in 3.0 )
- First open the theme editor for the theme you want to use.

- We recommend that you use fruity, it is our best theme currently.
- Then extend the theme and give it a name you will recognize.
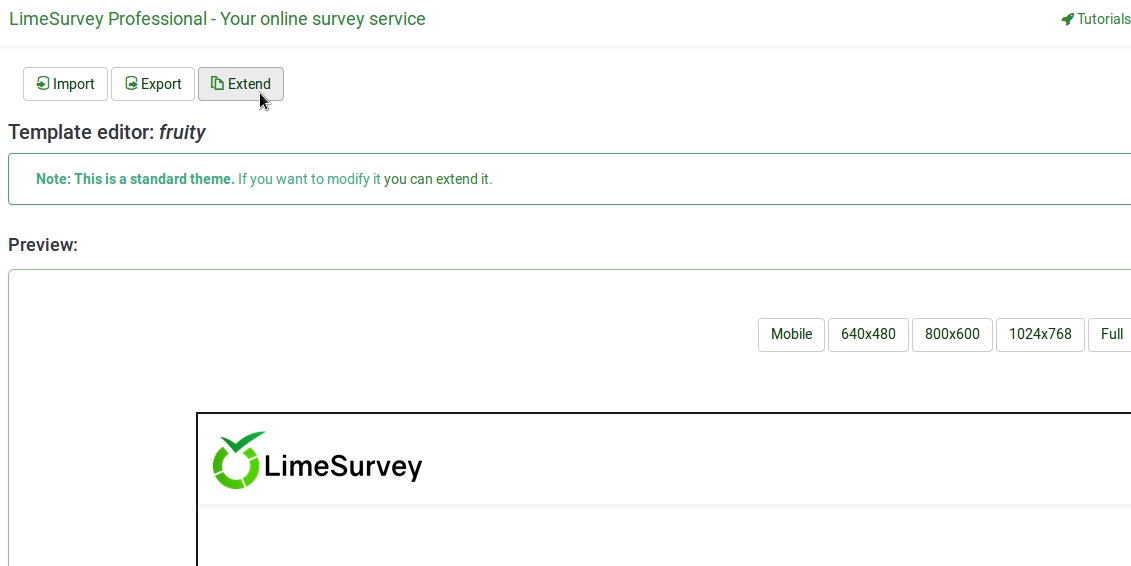
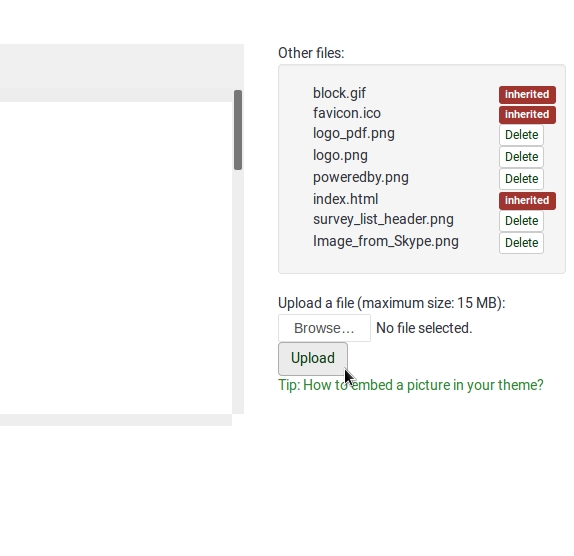
- In the following view you may upload the logo you want to use.
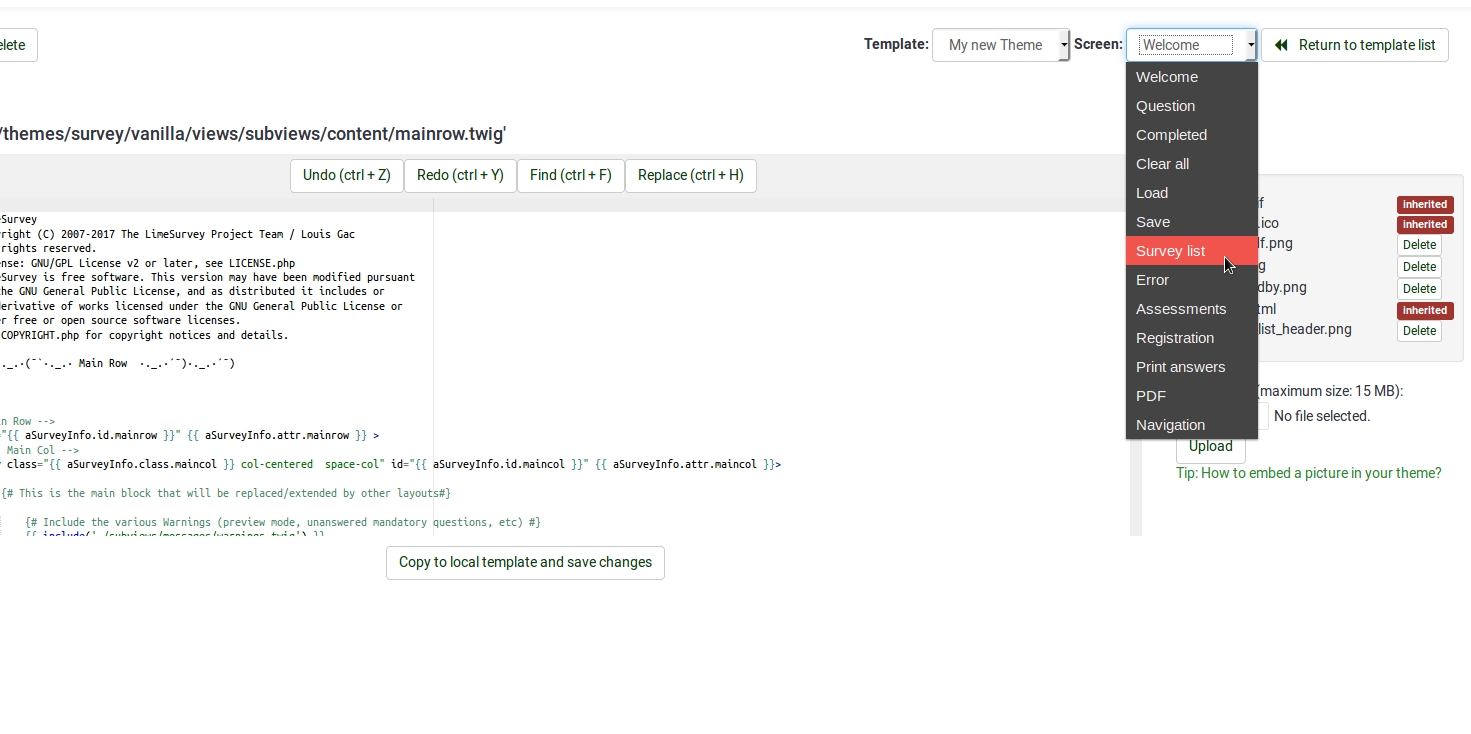
- Select the editor screen `Survey List´ in the Screen dropdown in the top right corner.
- Then select `layout_survey_list.twig´ in the left side menu.
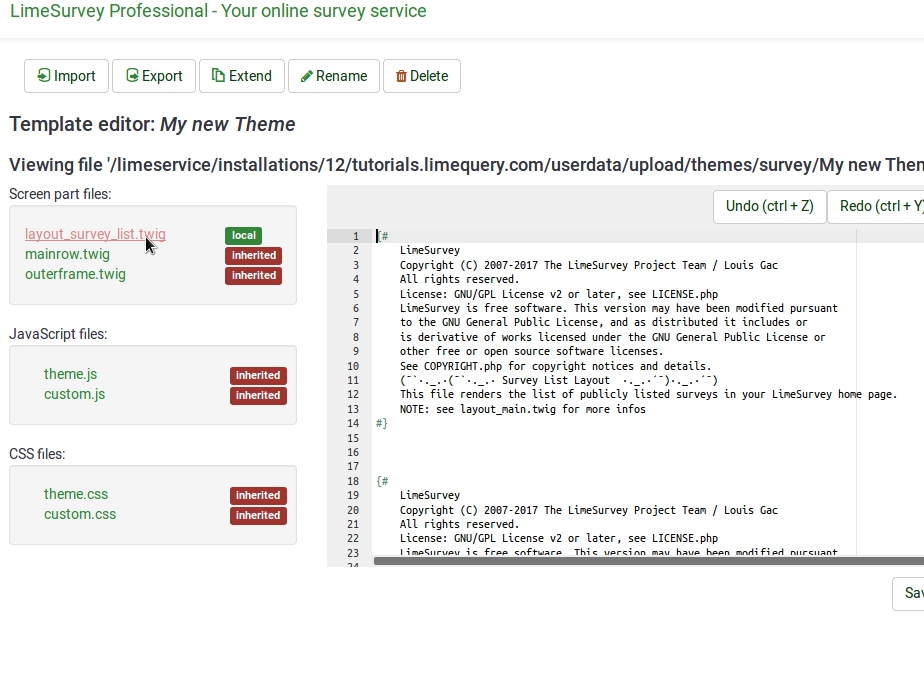
- In the editor scroll to line 126 and change the marked part to the filename of the image you uploaded to the theme before.

- Save your file.

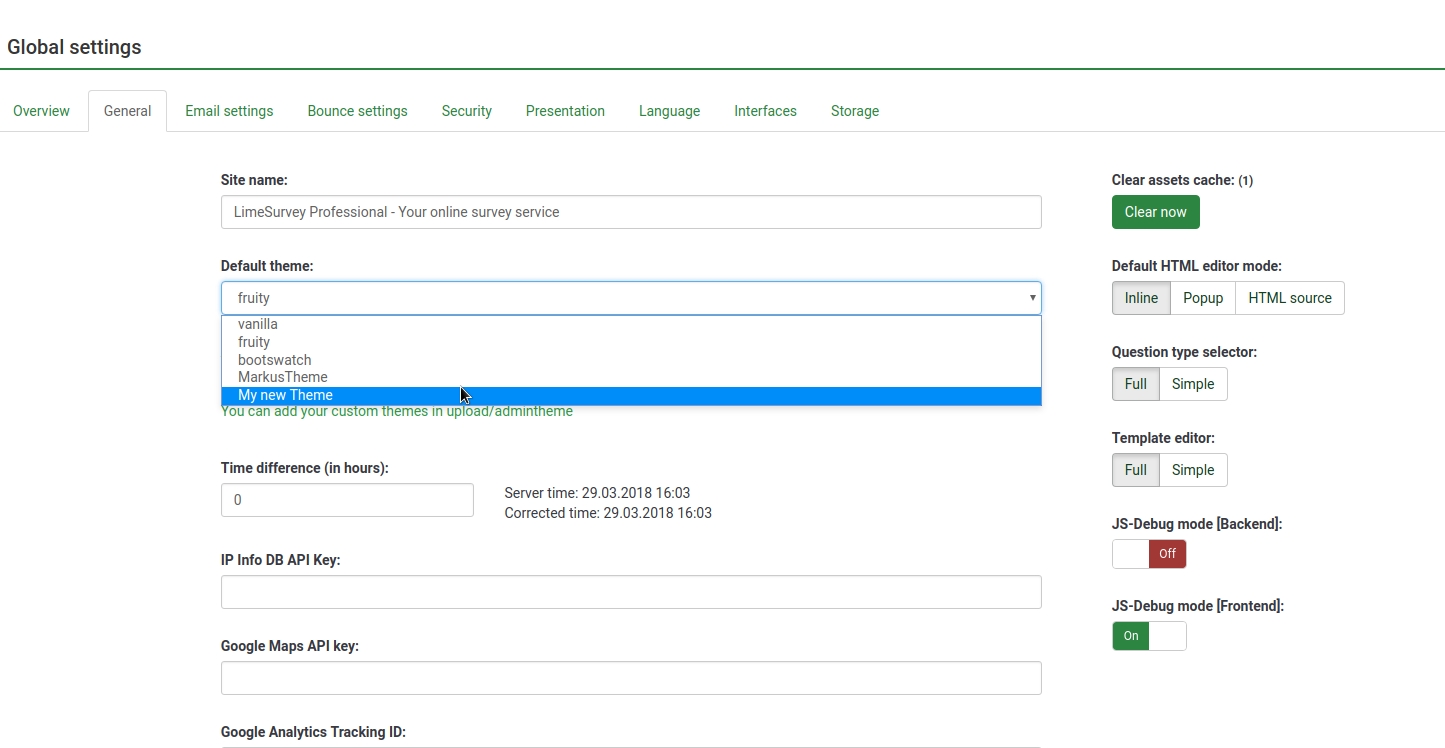
- Change default theme to your extended theme.
Related Articles
Styling questions with CSS
Styling questions with CSS Styling of questions in CSS has become much easier. Each question type has now a unique class. The mandatory questions have an additional mandatory class. For example, for a non-mandatory question: <div id="question5" ...